After rebranding a Webflow template, audit content fit, components, CMS, responsive behavior, interactions, accessibility, forms, metadata, links and production performance before launch.

Customization is not finished when the template looks different from the demo. The final step is checking whether the new brand, content and integrations still work inside the system you inherited.
Review long headlines, navigation labels, testimonials, project names and real CMS entries. Look for clipping, awkward wrapping, fixed heights and layouts that only worked with demo copy.
Navigation, footers, buttons, cards and CTAs should use the final typography, color and spacing consistently. Make sure one-off overrides have not created slightly different versions across pages.
Remove unused demo items and fields, rename fields for editors and test optional content. A project without a testimonial or video should not leave an empty block.
The original template may have been responsive, but new type, imagery and content change its assumptions. Test normal laptops, tablet, mobile and the widths between presets.
Remove motion that no longer fits the brand, confirm touch behavior and respect reduced-motion needs where appropriate. Important information should not depend on hover.
Review heading order, contrast, focus states, labels, link text and meaningful image alt text. Rebranding can accidentally reduce contrast or introduce decorative controls without clear semantics.
Submit every important form and verify the destination, success state and any CRM or automation. Confirm analytics, consent and third-party embeds on the published site.
Replace demo titles, descriptions and social images. Review indexing, canonical settings and any redirects required by changed URLs.
Measure after final images, video, fonts and scripts are installed. A fast demo does not guarantee a fast customized site.
A good customization QA pass verifies that the template has become a coherent production website, not merely a visually different demo.


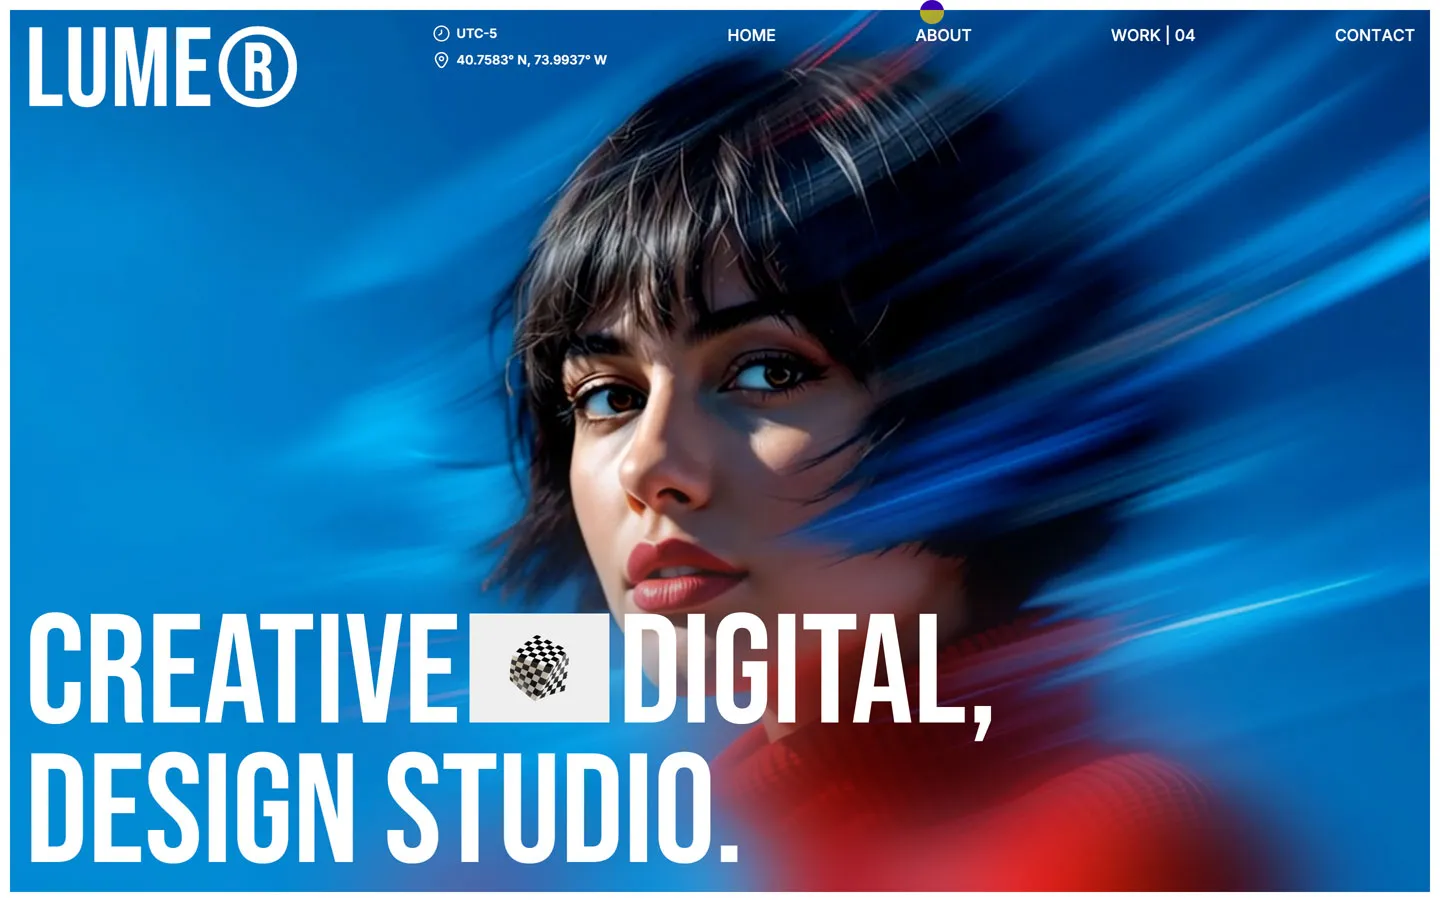
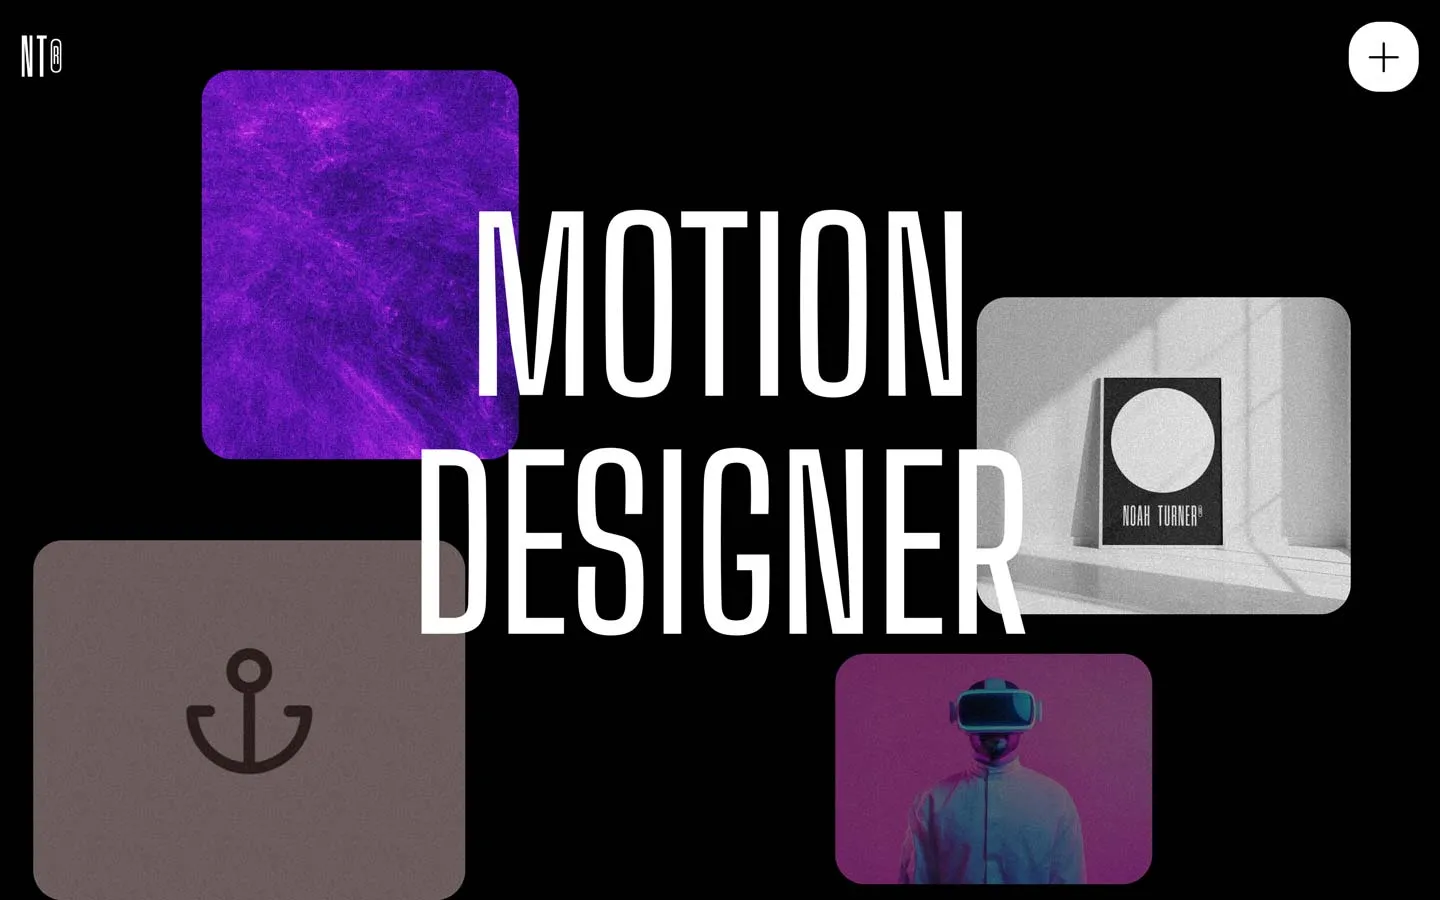
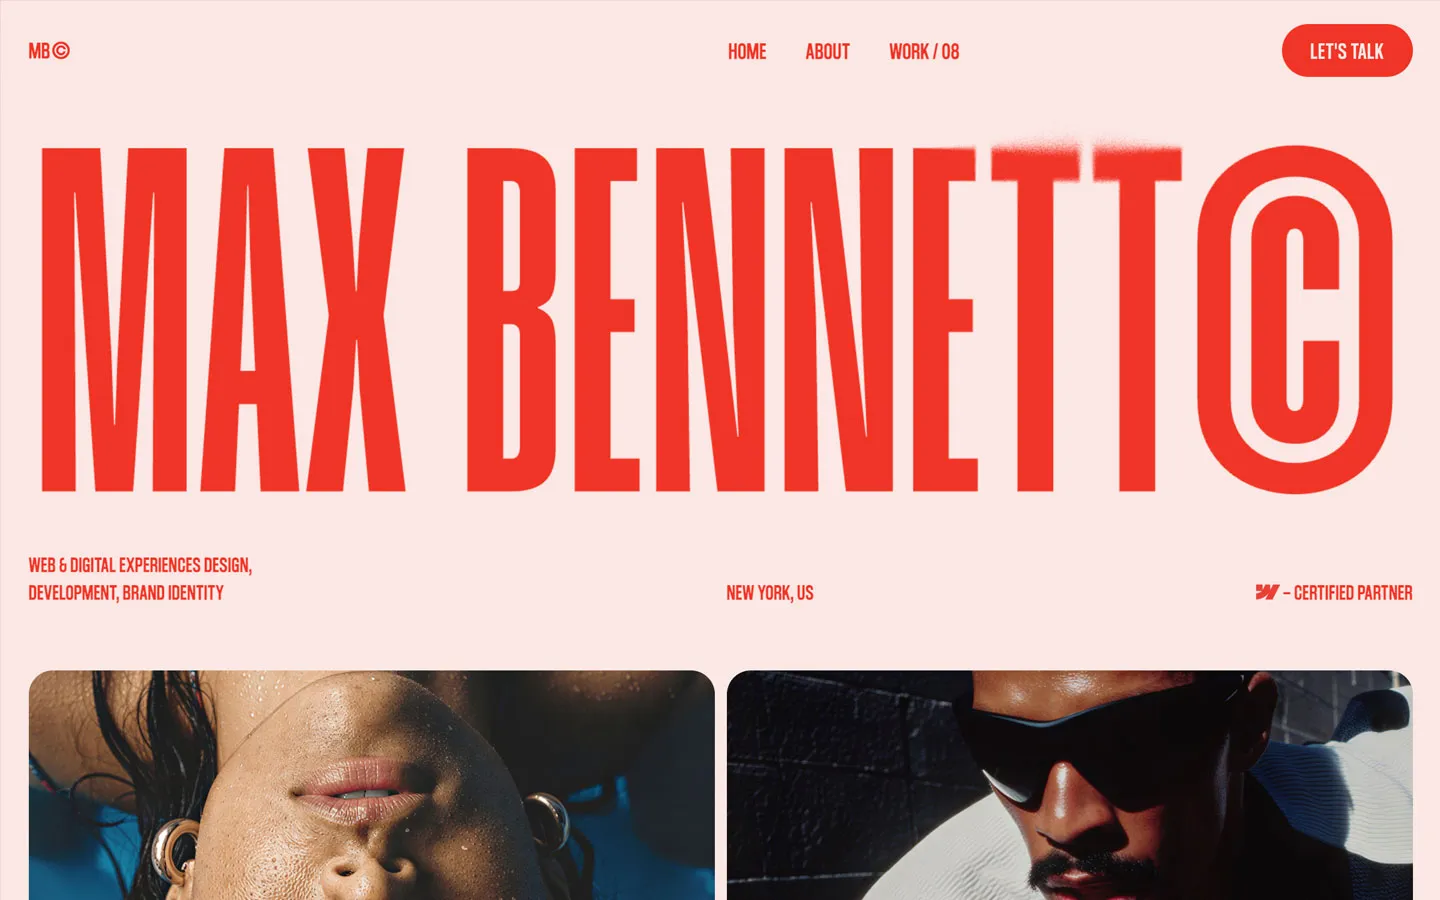


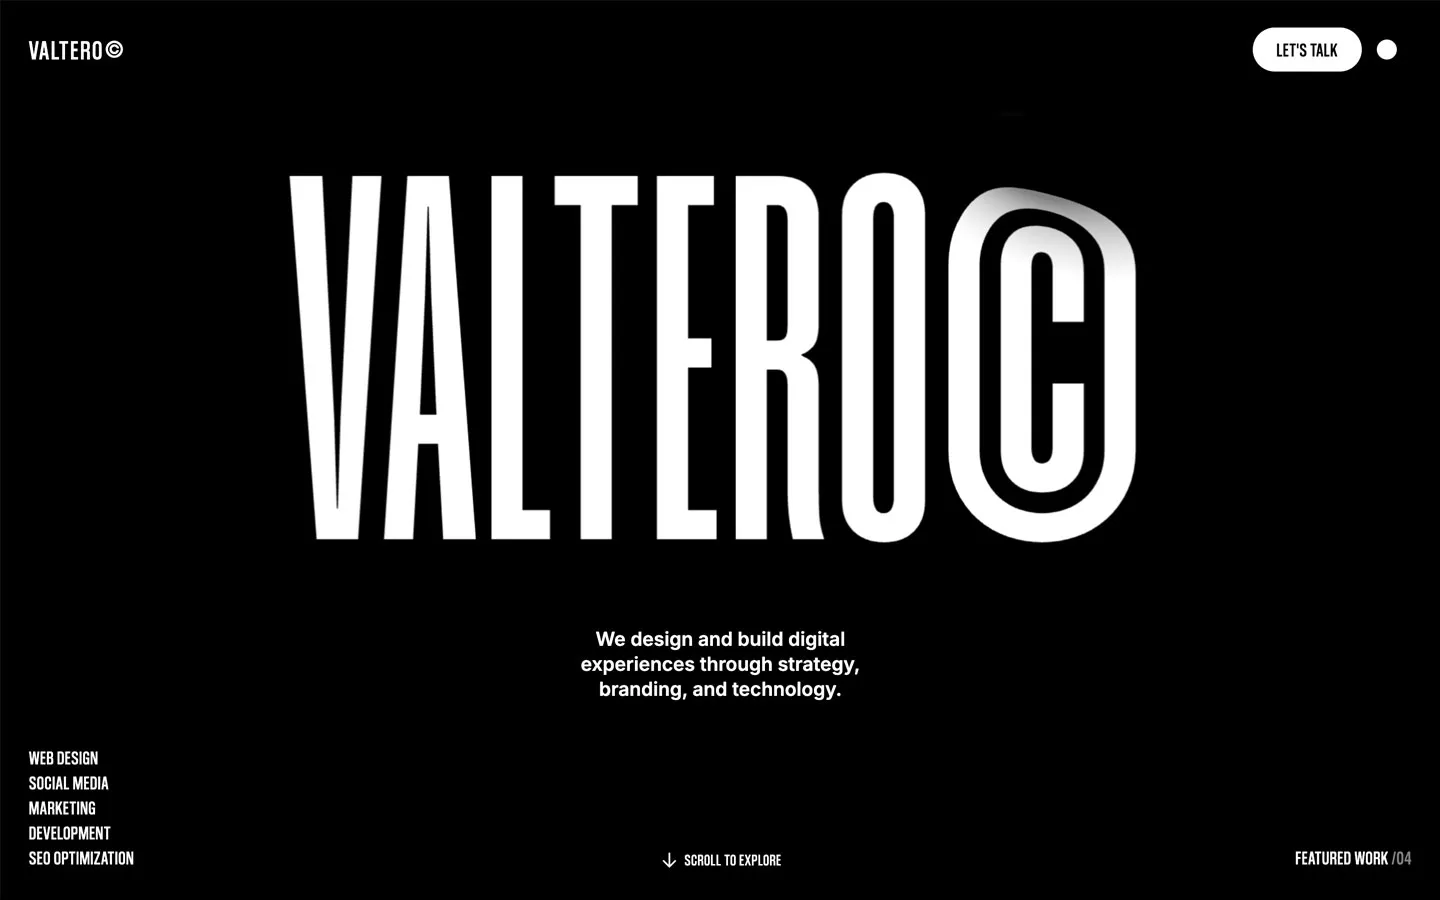


Don’t miss out on our superb, customizable templates designed to enhance your web design experience. We constantly add new templates and components.

Explore stunning Webflow, Framer, and Figma templates designed to spark your next big idea.


*Rest assured that your data is safe with us, and you'll only hear from us 1 time per month.